Want to build a camper van? In this series of blog posts, we'll discuss doing just that. For a more detailed discussion, see my 378-page Sprinter RV Conversion Sourcebook.
When you've chosen your base van, then found yourself a primo example of the van you want and brought it home, you'll want to think about how to start the build:
- If you bought the van new - You may not have a lot of work to do to get the van ready for your build. If your van came with an interior headliner and/or wall paneling and you're not going to re-use it in your build, you can remove that. If your van did come with an interior headliner and you're going to incorporate it, you may need to carefully remove it for now (ensuring that you don't break the many plastic clips which are holding the sections on), use some tape and a felt pen to mark the order you removed each piece and number it accordingly, and store it in a clean, dry place until you re-install it.
- If you bought the van used - You may have some freshening work to do on the van before you start your conversion. Check for all the places that rust may form, being especially careful to check around:
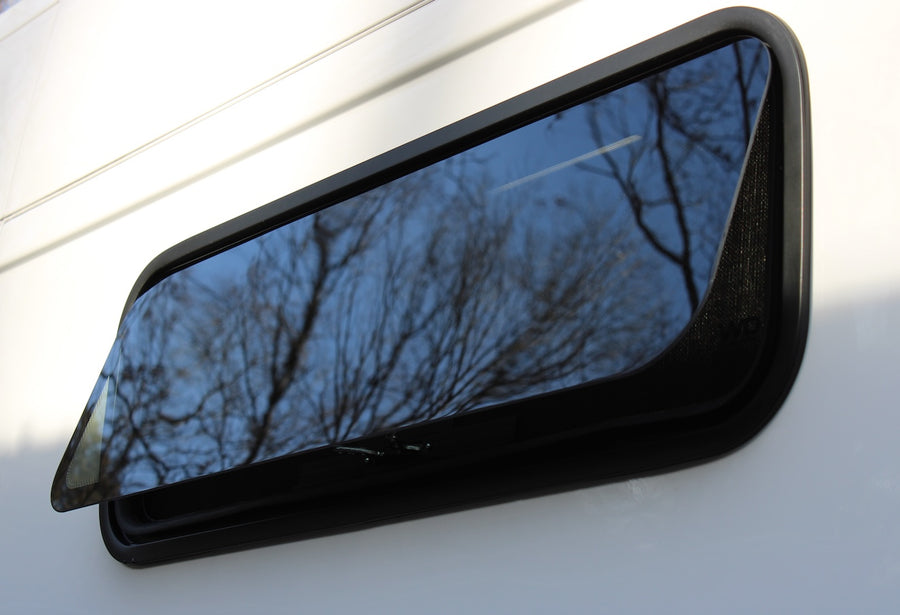
- window edges
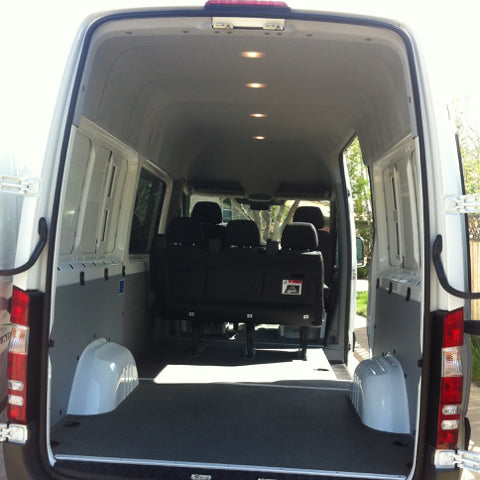
- cargo load floor
- windowsills, exterior and interior
- doorsills, including passenger's side, driver's side, and inside the side loading door and rear loading doors
- bases of the interior van walls
If you see rust, you'll need to grind it out, patch any spots/holes with patchwork or new metal, re-prime those spots with rustproofing paint, then re-finish them with body paint.
Take your time with this step - your van may be in use for many years, so it's worth fixing any issues that are happening now, rather than having to take apart your camper van later to fix body rust.
Also, use this opportunity to think about where you will locate certain appliances, cabinetry and components. For example:
- Fresh, gray and blackwater tanks - Will you mount these inside, or underneath your camper van? Measure gaps in between framing members on the van underbody and in the van walls, get dimensions including length, width and height, and especially note curvature in both dimensions. Vans are shaped like eggs, which makes fitting components challenging.
- Appliances - 12V fridges don't need venting, but 3-way fridges do, and so do battery boxes. Now that you have the interior paneling off, think about where you'll cut any holes for fridge vents, battery box vents, water fills, shore power outlets, sink drains.
- Roof - Will you mount a roof rack, solar panels, roof rack, air conditioning unit? If you're mounting an air conditioning unit on the roof, you'll need to reinforce the inside of the opening with wood or steel, the stock roof cannot handle the weight. Most van roofs have one or two factory 14" square cutouts designed for A/C units or roof vents, see how many are on your van's roof and where they are positioned.
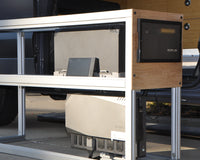
- Cabinetry - Without interior paneling on, measure the space you'll have both vertically, lengthwise and laterally for cabinetry. Think about aisle space, and use this opportunity to mark cabinetry layouts on the floor of the van with tape. If you have the time and inclination, you can cut and tape large cardboard boxes to build a full-size mockup of the cabinetry you're thinking of building in the van to see how it fits the space.
- Wiring - Check out where the factory van wiring runs inside the van. You will need to remember the location(s) of this wiring and not damage any of the wiring but drilling or cutting through it while installing paneling, wiring or plumbing.
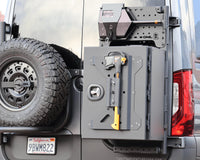
- Underbody - Not just water tanks, but extra fuel tanks and/or propane tanks might be mounted underneath your camper van. If mounting tanks, don't forget you want to balance weight side-to-side and front-to-back.
You're now on your way to getting your camper van build started! In the next post, we'll discuss