
What is the Columbia Heated Flooring System?
The Columbia Hydronic Heated Flooring System offers the epitome of efficiency and comfort for four-season heating solution. This all-inclusive system by Just Roaming Design allows you to stay warm and comfortable in cold temperatures, while preventing plumbing freezes and allowing low-temperature lithium charging capabilities and cabin heating.
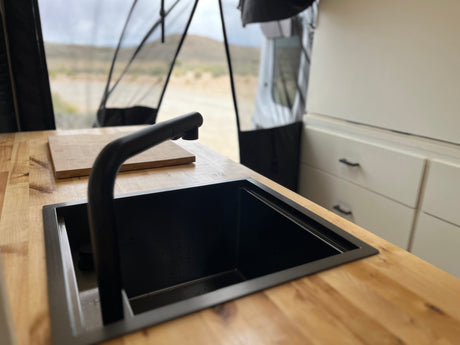
At half the finish height of comparable hydronic housings on the market, this system preserves more precious headroom in your living space.
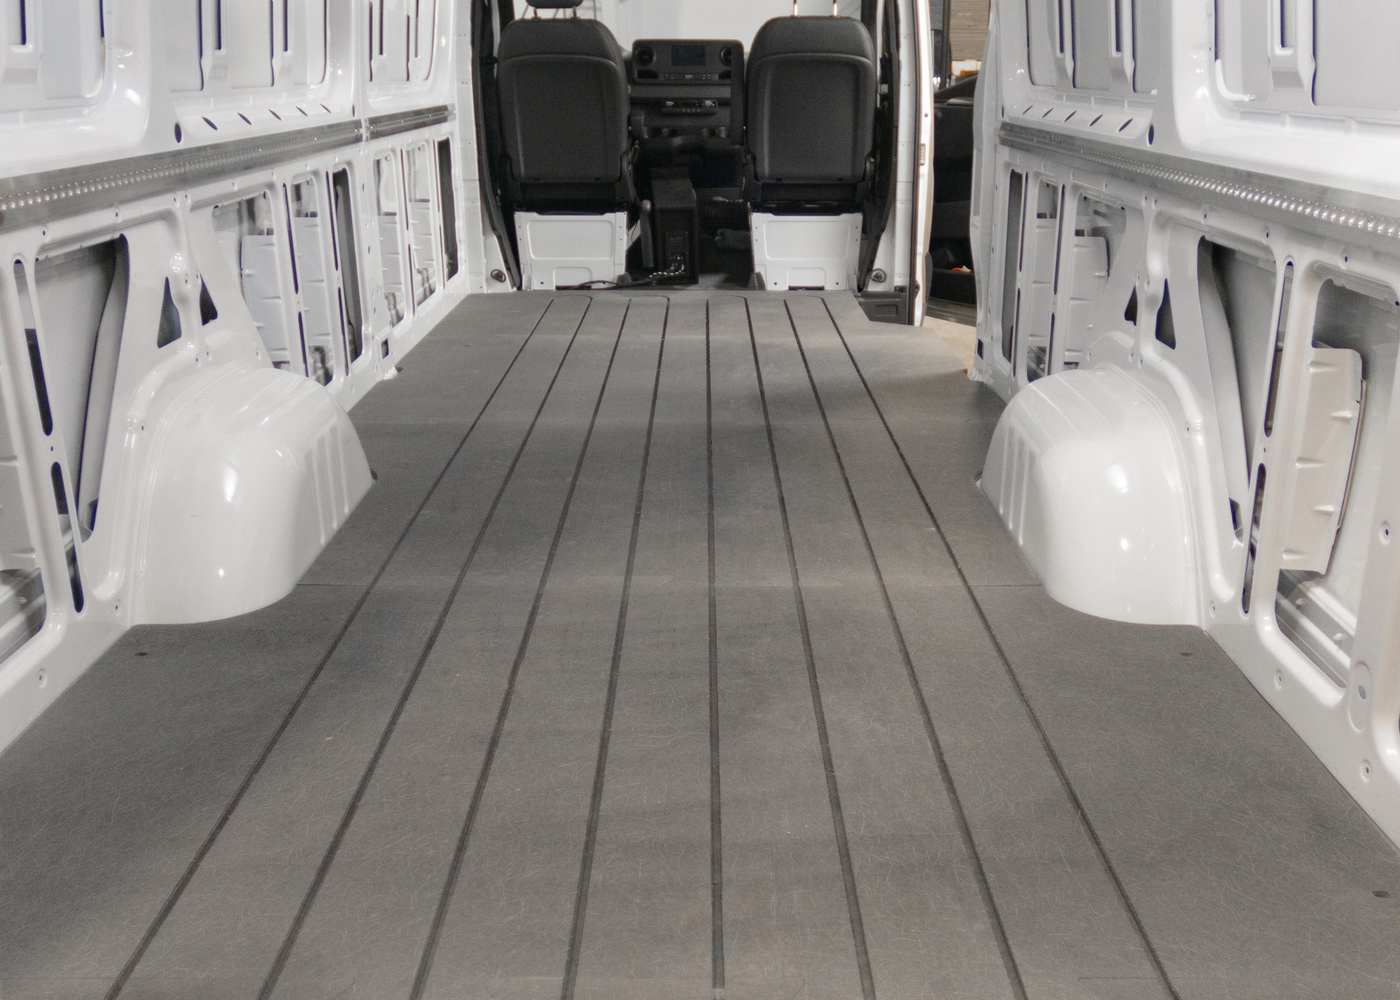
The 3⁄4" fiberglass-reinforced closed-cell foam in the subfloor houses PEX piping and aluminum heat transfer plates. The 1⁄4” plywood overlay provides a smooth surface for your finish flooring and is CNC-mapped with the positioning of the PEX piping and the aluminum heat transfer plates for easier installation. Following faintly engraved lines, any professional or DIYer can make necessary floor penetrations with confidence, avoiding punctures through the PEX pipe.
The foam substrate has many great advantages:
- Up to 60% less weight than plywood
- High density material accepts traditional fasteners
- Dimensionally stable
- Doesn't rot
- Insulates 3x more than plywood, so no additional insulation needed
- Sound-deadening properties means no need for additional butyl mat

How to Install:
What your Columbia Flooring kit includes:
- Fiberglass-reinforced closed cell foam (3-4 pieces depending on the length of your vehicle)
- Plywood overlay (3-4 pieces depending on the length of your vehicle)
- Adhesive
- Aluminum heat transfer plates
- 100' of 3⁄8" PEX piping
Plus our most popular flooring options are CNC-machine-cut to complete your flooring system installation simply and quickly. Complete your flooring system by choosing your preferred flooring look in the drop-down menu on the product page for your van.
Before Installation:
Read Our Safety Guidelines:
- To avoid contact with fiberglass, wear long sleeves and gloves while handling the foam board, and wear safety glasses as small particles can irritate the eyes.
- Wear a respirator when cutting, sanding or removing any material.
- Avoid damaging PEX lines under the floor by following the engravings on the overlay which map where the piping runs below.
Step 1:
Wipe down and clean the bare floor of your vehicle with denatured alcohol.

Step 2:
Wear gloves throughout installation.

Step 3:
Measure each board. Mark van floor.

Step 4:
Start from the rear of your vehicle and work your way to the front, applying adhesive at the high points of the floor one panel width at a time. Squeeze extra adhesive at the seams, including in the low points, dispensing enough to fill the gaps so that when the adhesive dries, the panel will rest on a flat line of adhesive.
You do not need to run adhesive along the face where the two panels seam.

Step 5:
Lay subfloor.

Step 6:
Once all panels have been glued down, make sure that slotted bolt points line up with the corresponding holes. You can adjust by leveraging a screwdriver, but be careful not to damage the threads on the inside.

Step 7:
Install factory bolts. Be careful not to cross-thread any of the threaded inserts. If the bolt seems difficult to install, gently unscrew and then try inserting it again.

Step 8:
Apply even weight or clamping pressure overnight. Isolate the seams and any high points.

Step 9:
The next morning, remove weights and check for high points at the seams. If you find any, feather them out with a sander and 80-grit sandpaper. Be careful not to remove too much.
NOTE: Be sure to wear a respirator when sanding fiberglass.
Step 10:
Once you have even seams, press in the heat transfer plates, aligning them with the mapped engravings.


Step 11:
Leaving 2-feet of excess pipe, press in the PEX, making sure to avoid kinks. You can use a rubber mallet or your shoes to press it in.


Step 12:
Lay the plywood overlay on top, feeding the PEX through the exit holes.

Step 13:
Staple the top layer down using 3⁄4” crown staples. Be careful not to hit PEX lines underneath. You can easily avoid the PEX by following the engravings on the overlay, which map where the piping runs below.