Check out the latest review in our Best New Products series
...
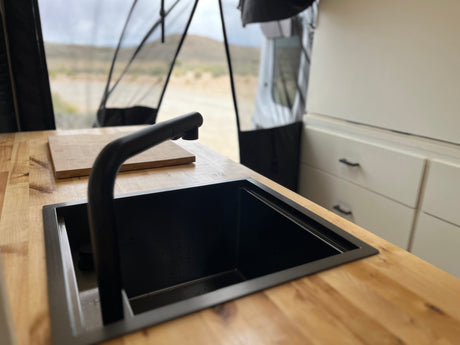
Of course you want to take your camper van to wild places with gorgeous scenery and peaceful sunrises. Sure, you love avoiding noisy campers and RVs all around you. BUT you’ll totally hate life during hot summer days without a shore power connection to run A/C. In those remote deserts and humid seasides where you’re dying without air conditioning, you need an amazing off-grid cooling system that doesn’t break the bank. Luckily, now you can have it.
Off-grid RV cooling used to be terrible due to the massive power draw of 120V RV air conditioners, but recent technology has brought several improvements including efficient variable-speed 12VDC A/C compressors, lithium RV batteries, and DC-to-DC chargers. If you combine these three new options, you’ll get a superhero air conditioner without external power…AND without a gut-punch to your budget!

The Bad Old Days
A 120V RV air conditioner requires a minimum 2500W hardwired inverter to handle massive startup surge, plus a generator or shore power connection. A 120VAC unit typically requires a soft-start capacitor to handle startup power, plus a separate air distribution board (ADB) and thermostat. Besides all this additional equipment, the initial power surge and high continuous power use of a 120VAC unit rules out the possibility of off-grid air conditioning for your camper van, unless you have a generator. Ick.
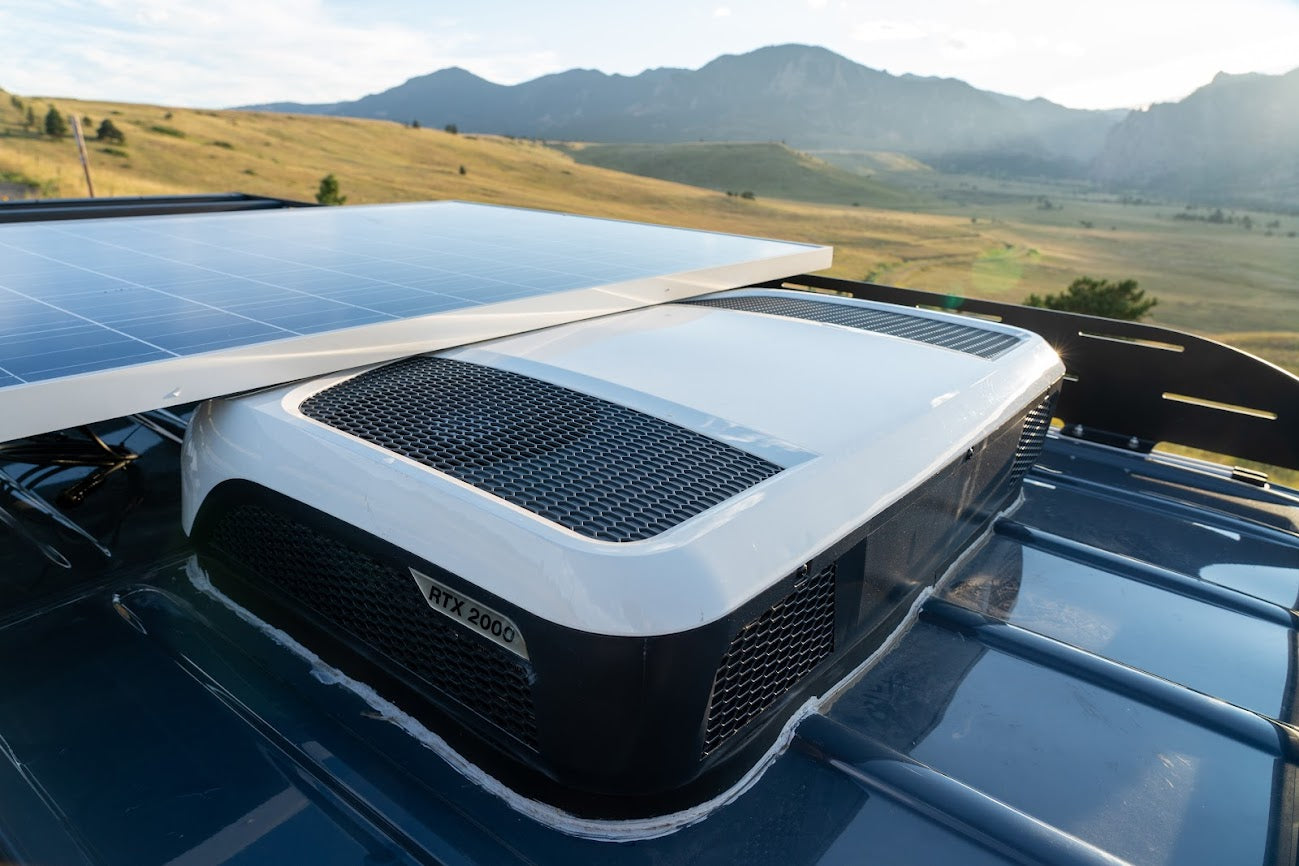
RTX2000 Saves the Day
Now you can have off-grid air conditioning without a generator, and we’re excited to have one of the best on the market. The Dometic RTX2000 12V RV air conditioner has been used in the European trucking world for over a decade, proving its reliability for intensive use. We installed this baby in our own campervan last summer and are thrilled with how it performs while using so little power!
The variable-speed compressor allows a range of settings and ways to economize on power use, unlike older models with fixed-speed compressors. Power usage ranges from 20A@12VDC to 60A@12VDC, depending on ambient temperature. Running the RTX2000 in eco mode provides the most efficient power usage and can keep your van cool once you reach desired interior temperature.
If you install your Dometic RTX2000 with a 400-600AH lithium battery bank, and a DC-to-DC charger running from the alternator, you can typically achieve 4-6 hours/day of completely off-grid air conditioning at 6800 BTU! We recommend both solar and alternator charging, since alternator charging requires hours of driving per day to recharge the batteries for heavy A/C use.

Why the RTX2000?
The Dometic RTX2000 is comparatively inexpensive, surprisingly compact with a low roof profile, and highly capable compared to some of the other 12V AC options available today. The variable-speed compressor enables very low power draw in eco mode. The RTX2000 installs as a single unit, thus does not require a separate ADB, soft-start capacitor, thermostat, hardwired inverter, or other complicated nonsense. Best of all, the RTX2000’s history of decades of intensive use in vehicles makes it a well-proven, reliable solution.
For more information, click the links to detailed product pages on the Campervan HQ website:
- Dometic RTX2000 12V RV Air Conditioner
- Go Power Lithium RV Batteries
- Victron Orion TR DC-DC Charger
- Victron 12/200 BMS
- RV Solar Kits

Easy Installation
Compared to 120V air conditioners, installation of the Dometic RTX2000 is pretty easy:
- The Dometic RTX2000 comes in three boxes: the rubber roof seal, the air conditioner itself, and the wiring harness. Locate all items, including the cardboard template.
- Using the included template, mark from inside the van to ensure the hole sits between the roof bracing ribs. Then cut a hole in the front or rear roof section of your van using a jigsaw with a metal blade. You also may need to glue an interior wood or metal frame to the hole to reinforce the roof.
- Fit the rubber seal and fit to the contours of your roof in the desired install position:
- Using a felt pen or other marking device, mark the exact outline of the seal in the roof exterior, and mark the contours of the roof ribs onto the sides of the seal.
- Using a narrow-bladed pull saw or oscillating cutter, cut out the contours of the roof ribs so that the bottom of the seal conforms perfectly to the surface of the roof.
- When you’ve confirmed that you have modified the seal to conform exactly to the roof, glue the seal to the roof.
- Test-fit the Dometic RTX2000 in place. If all looks good, temporarily remove the unit from the hole, apply adhesive to the top of the roof seal, then gently lower the A/C unit back into place on top of the seal.
- From the van interior, screw in the threaded mounting rods into the bottom of the unit. Then slip the steel mounting bars over the rods and secure the bars with the provided locknuts.
- Ensure the power cable is routed through the roof bay to the wall and down to the DC load connections. The power cable must be supported every 12-16 inches.
- Connect the power cable to the power source. A single connection is sufficient for 12V power, or connect both wires in the cable for 24V power. Ensure the 80A inline fuse is intact.
- Power on your RTX2000 and test for correct operation.
- Seal the interior of the hole around the protruding bottom of the RTX2000 with expanding spray foam such as Great Stuff, or another sealant.
Coming Soon! Check back here for videos showing installation of the Dometic RTX2000 in our van.