We partner with Field Van through our Upfitter program and work closely with them to offer quality van products for their van builds.
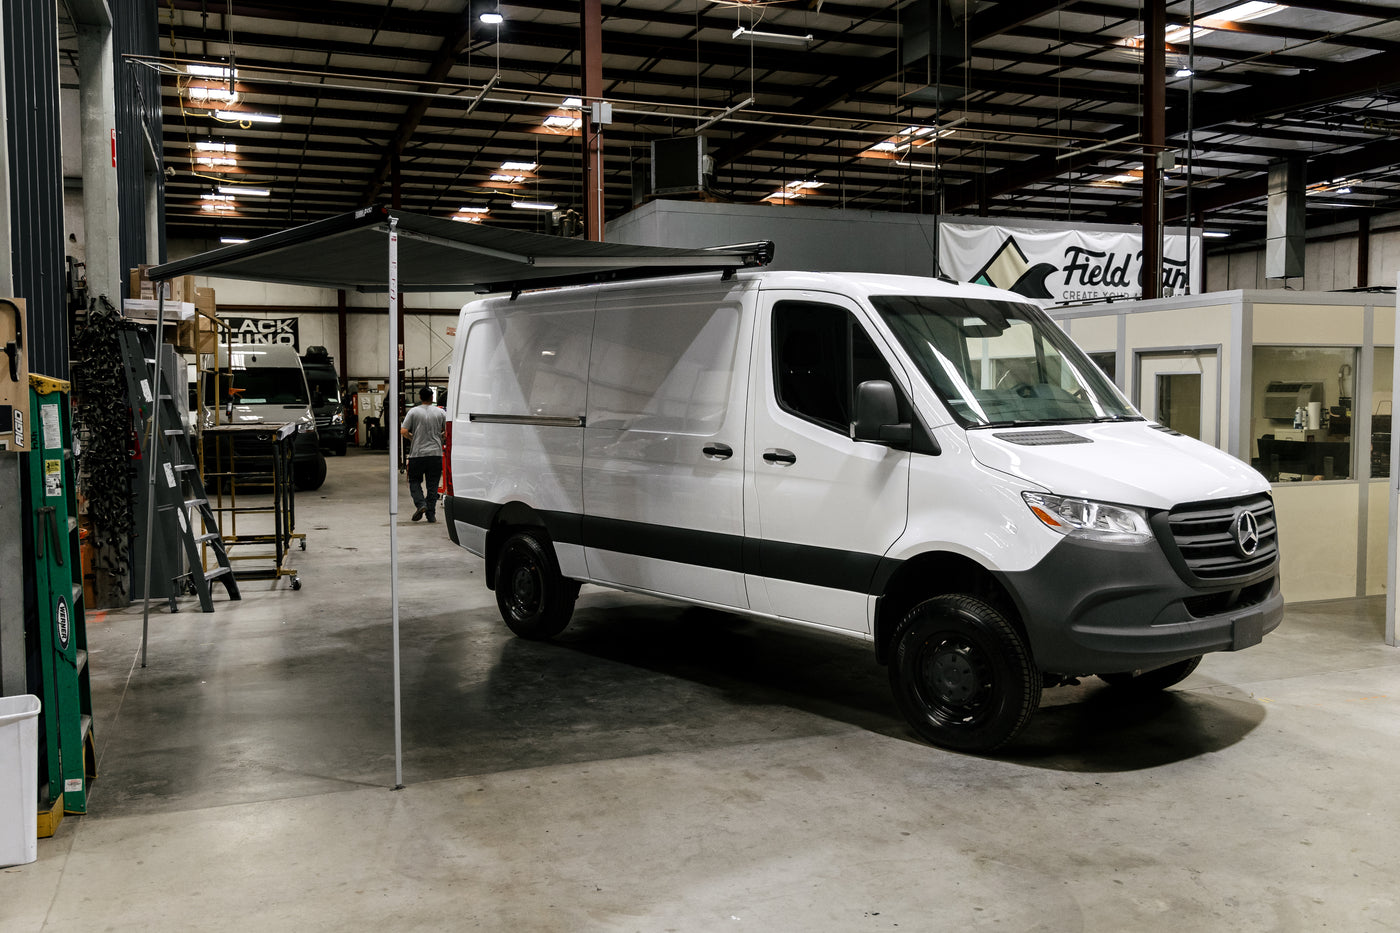
As a professional upfitter, the Field Van team offers top-quality installations for campervan products through their Fresno, CA and Reno, NV shops. In this guide, Tony from Field Van is walking us through a Fiamma F45S installation on their custom Sprinter roof-mount brackets.
We'll also be offering Fiamma suggested installation information for their F45S wall mount brackets included with F45S awnings for ProMaster and Sprinter vans. See our F45S bracket for Transit vans here. If you're looking to mount onto an E-series van, low roof van, pop top van. or even roof mount your F45S awning onto Transit and Sprinter vans -- check out all of Field Van's custom Fiamma Brackets here.

Step 1
Prepare to install the awning brackets by measuring and marking the bracket location. Field Van's custom F45S bracket mounts directly onto the roof, while the included F45S bracket mounts to a flat vertical wall.
Note: You will see reference points on the back of the awning to know where the brackets should lay and detailed information for mounting points in your Fiamma F45S Installation Guide. Be sure to reference your Fiamma F45S install guide when installing your F45S awning.
Fiamma recommends:
If you are installing your F45S using the included Fiamma Wall Mount brackets, you'll need to ensure that the adapter is mounted linearly and not on a curved edge or deformation due to the vehicle. In these events, shim appropriately as needed to ensure the brackets are even and level. The installation can occur only "when the adapter is perfectly aligned to the wall of the vehicle."
Prepare the brackets to align with the words “SUPPORT” on the back of the awning, proper alignment is necessary for the two outer, end brackets as they support the bulk of the arm weight and force. It is recommended to install the central bracket on 250-350mm models for additional support, but is not indispensable.

The brackets must always be properly aligned to each other to avoid later problems; in case they are not, they must be properly shimmed using the spacers to ensure the alignment.
- Check the wall of the vehicle and verify the position of the reinforced points or request this information from your manufacturer.
- After confirming the correct reinforced points, choose the appropriate brackets. (F45S models include wall mount brackets for Sprinter and ProMaster vans. See our F45S bracket for Transit vans here and check out Field Van custom Fiamma brackets for additional options).

Step 2
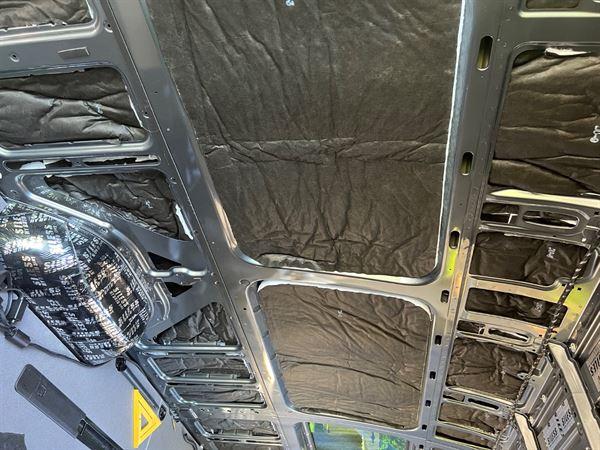
Next, Tony at Field Van prepares the roof to install their custom F45S bracket by drilling bracket holes using the marked spots on the van's roof and treating them with primer to make sure nothing rusts. Then you're ready to set your Jack nuts.
Fiamma suggests:
-
Mark the fastening points on the outside wall of the vehicle (figure A, page 12 in installation guide), these ends will be receiving the pulling force of the retractable arms.
- Before drilling, make sure that there are no obstacles on the inside (e.g. Electric cables, gas pipes etc).
- Mount the brackets to align with the SUPPORT markers on the awning. It is necessary that the brackets are fixed at equal points from one another (figure D, page 9 install guide). The awning must be installed horizontally and level.

 Step 3
Next, Tony at Field Van demonstrates how to lay down their brackets. First by applying some Sikiflex in the jack nuts so when everything is tightened down there's a watertight seal, then Tony aligns the bracket over the holes and fastens it down through the roof.

Fiamma suggests, when fastening the brackets, be careful not to over tighten the lock nuts on the bracket plates (figure B, page 12 in the install guide).
See the figure below for Fiamma's wall mount bracket installation:


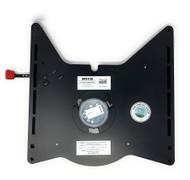
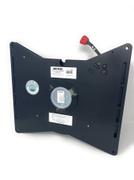
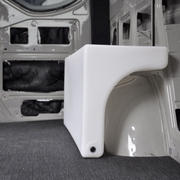
Field Van's Fiamma F45S Roof Mount Bracket installed and prepared for the F45S awning.
Step 4
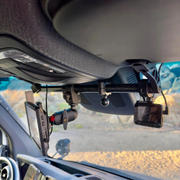
Now that the brackets are secure you can set your awning up onto the brackets with a helper, securing it temporarily with clamps, and drill out holes for the support bracket to bolt onto the awning. Then send your bolts through to secure everything down.
Tony at Field Van explains their final process as installing the bolts to the awning, breaking the bolt ends, and adding black caps over the broken bolts to protect from weathering.
Then your F45S is now installed and ready for use!


Fiamma explains, place the awning on the wall mount brackets and fasten it as per illustration (shown below in figure C).
Figure C Fiamma Wall Mount Backet recommended install.
Fiamma Install Tips
1. In order to avoid unnecessary strain on the awning as well as on the vehicle side, we suggest to take out the legs at about 2-3 ft from the opening.
- Grasp the leg near its hinge-joint and pull it toward you.
- Lower the leg as shown in the figure.
- After unrolling the awning completely, adjust the legs at the chosen height.
2. To avoid the awning being lifted up by an unexpected gust of wind, it is necessary to secure the legs to the ground with the provided hooks. For safety’s sake, we strongly advise you also use some storm cords in the upper part of each support leg or anchor the awning with the Fiamma Tie-Down Kit strap.
3. If you want to fasten the support legs to the vehicle, place the leg terminals into the leg wall brackets. The brackets can be fixed only in reinforced points.
4. Fiamma suggests using the awning for sun protection protection only, and asks you please roll up your awning in case of rain, wind or snow. Otherwise they suggest you please take the following precautions: lower one side of your awning, so that water can flow away and be sure to use the tension rafter (rafter not included for all awning lengths).
5. Make sure that the awning rolls in perfectly so that the red indicators in the front profile ends are no longer visible. Before leaving, make sure the awning is correctly closed. A damaged fabric does not allow the awning to perfectly roll in.
Note:
- Never use the awning with a damaged canopy.
- Wash the canopy with light cleaning detergent.
-
In case the wall of the vehicle is not perfectly straight, you'll need to place some spacers between the bracket and the wall of the vehicle.
See Fiamma F45S install guide for more details.


Summary
The Fiamma F45S Awning comes with flat wall mount brackets to install onto the upper plate wall of your Sprinter or ProMaster van, or the F45S Transit adapter for Transit vans. We love Field Van's custom F45S roof mount bracket because it lifts the awning up above the van, making it possible to add on a pop top or mount a F45S onto a low roof van without an issue. They also offer options for Ford E-series that mount onto the factory pinch weld.
For more details on different Fiamma awnings we offer, including the F45S, read our Four Great Fiamma Awnings blog article, and visit our Fiamma listings to shop with free shipping.
Shop Fiamma Awnings
Reach out to our team at support@campervan-hq.com for install and product questions!