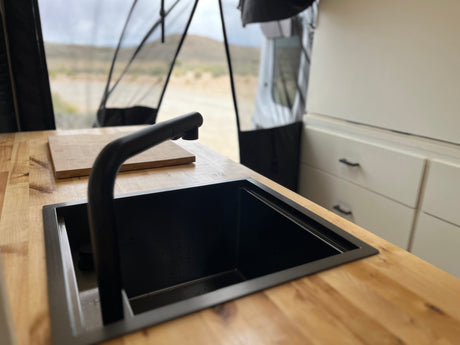
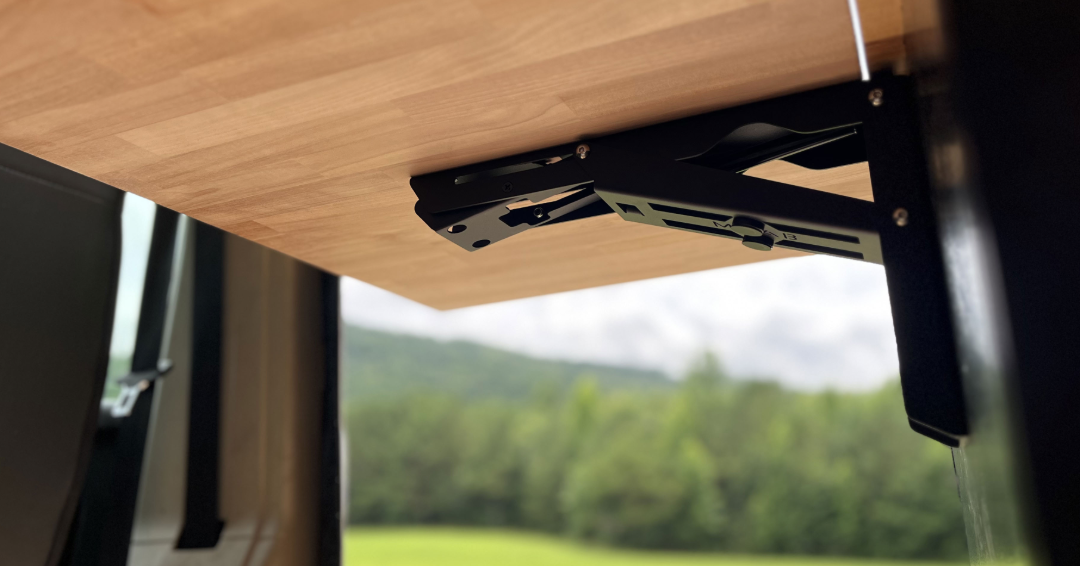
Whether you're adding a countertop extension or bench, the Tetravan Heavy-Duty Folding MOAB Bracket provides a durable, clean solution that maximizes usable space without sacrificing strength. Featuring an integrated gas strut, the MOAB Bracket offers smooth operation while securely supporting countertops and work surfaces when deployed.
In this guide, we'll walk through the basic installation process so you can confidently add a folding surface to your camper van build.

Why Choose the Tetravan MOAB Bracket?
Designed for van builders who need a dependable folding support, the MOAB Bracket combines heavy-duty construction with simple installation. The integrated gas strut assists with lifting and lowering while helping support the tabletop during use.
Rated to hold up to 95lbs and stress tested to 270lbs. We recommend 1x bracket for up to 20" wide extension and 2x brackets for heavier loads or wider extensions.
Key Features
- Heavy-duty steel construction
- Integrated gas strut for smooth folding operation
- Ideal for countertop extensions, folding tables, workstations, and benches
- Compact design maximizes interior space
- Supports a variety of countertop materials
- Perfect for DIY builders and professional upfitters
Installation Guide
Step 1: Position the Bracket
Determine the desired height and location of your folding table or bench.
Place the MOAB Bracket against the cabinet or mounting surface and ensure it is square and level before marking your mounting locations.
Tip: Test your bracket mounting position to ensure it folds without bumping or scratching the existing countertop. Typically, mounting the bracket 3/8" below countertop with any overhang ensures proper function, but measure accordingly when testing. Max overhang of existing countertop recommended is 1.25"(31.75mm) or less. This allows installer to make use of the mounting holes for new extension on the Moab Bracket, which are approx.. 1.5" inward.

Step 2: Predrill the Mounting Holes
Using the bracket's bolt holes as your guide, mark each mounting bolt location.
Predrill the holes through the cabinet or panel to prepare for installation.
Taking time to properly align the bracket during this step will ensure smooth operation once the countertop is installed.

Step 3: Secure the Bracket
For cabinets, panels, or thinner wall materials, Tetravan recommends through-bolting for maximum strength.
Using the supplied hardware:
- Insert the four provided carriage bolts through the bracket and predrilled holes.
- Install the supplied washers and nyloc nuts from the inside of the cabinet.
- Tighten each fastener evenly until the bracket is securely mounted.
Through-bolting provides the strongest attachment and helps ensure long-term durability.

Step 4: Install the Countertop
Once the bracket is securely mounted, position your countertop or bench surface on top of the bracket.
Using appropriate wood screws, fasten the countertop directly to the bracket through the provided mounting holes.
After installation, verify that the countertop folds smoothly and locks securely into position.

Watch the Installation Video
Want to see the installation from start to finish? Watch our complete installation video to follow each step, see mounting tips, and learn best practices from the Campervan HQ team.
Shop the Tetravan Heavy-Duty Folding MOAB Bracket and explore the complete lineup of premium Tetravan products at Campervan HQ.