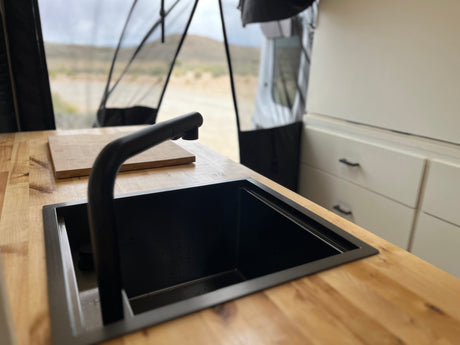
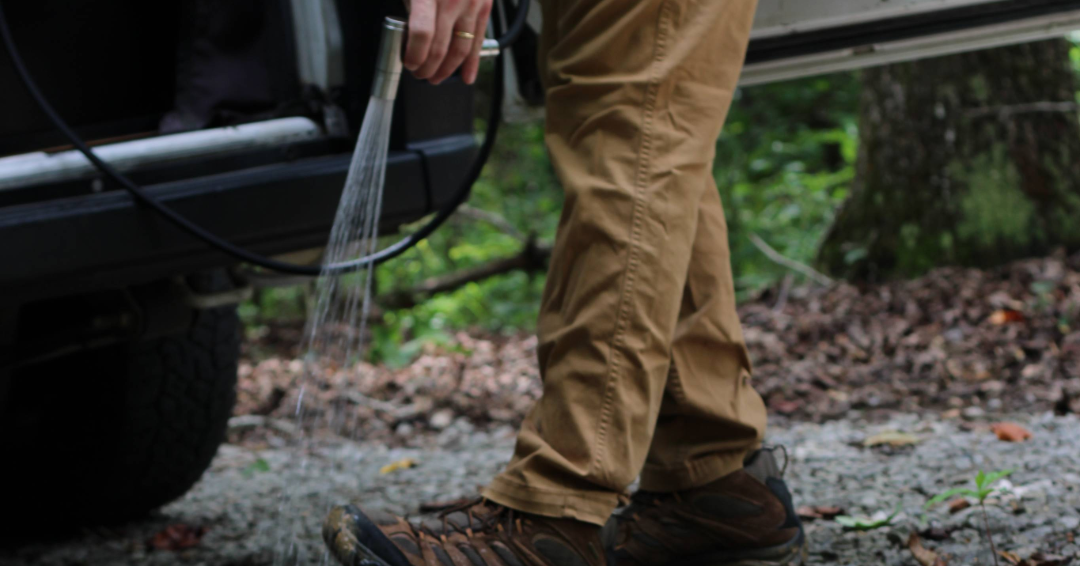
A dedicated or additional shower port is one of the most practical upgrades you can add to your camper van. Whether you're rinsing off after a day on the trail, washing dishes outside, cleaning muddy gear, or taking a quick shower, the Tetravan Shower Port System delivers pressurized water exactly where you need it.
Designed with premium components and a clean, modular layout, the Tetravan Shower Port can be installed inside your shower, at the rear doors, inside a galley cabinet, or virtually anywhere your plumbing system allows.
In this guide, we'll walk through the installation process from mounting the components to connecting your plumbing system.

What's Included
The Tetravan Shower Port System consists of three primary mounted components:
- Shower head mounting bracket
- Quick-connect water outlet
- Mixing valve with on/off control and temperature adjustment
Also included:
- Stainless steel hot & cold mixer valve
- Multi-setting showerhead with 3 ft. braided nylon hose
- Quick-connect fitting for easy removal and storage
- Showerhead holder
- 2 × 12″ supply hoses (½″ female)
- 1 × 16″ mixer-to-quick connect hose
- Zippered nylon ripstop storage pouch with snap-on fasteners
- Teflon plumber's tape (roll included in kit)
Tools used/recommended in this install (not included):
- Power Drill
- Basic drill bit set (for pilot holes)
- Forstner, core, or spade bits for wood surfaces
- Metal step bit for metal/aluminum surfaces
- Adjustable Crescent wrench
- 7/16" wrench
- Plumbing hardware for connecting to water system not included (eg. clamps, 1/2" tubing adapters, etc)
Before You Begin
Before installing your Shower Port System, you'll need a functional pressurized water system.
Your build should include:
- Fresh water tank
- 12V water pump
- Water heater
- Accumulator tank (recommended for smooth water flow and pressure)
These components work together to provide consistent water pressure and temperature throughout the system.

Step 1: Choose Your Installation Location
The Tetravan Shower Port is designed to be flexible and can be mounted in several locations depending on your build.
Popular installation locations include:
- Interior shower enclosure
- Rear cabinet
- Secondary shower location
Choose a location that provides easy access to your plumbing while allowing comfortable use of the shower hose.

Step 2: Drill Mounting Holes
Once you've finalized the layout, mark the mounting locations for both the mixing valve and the quick-connect water outlet.
Using the appropriate hole saw, drill:
- 1.5 inch hole for the mixing valve
- 1 inch hole for the quick-connect water outlet
Verify clearance behind the mounting surface and length between connection points before drilling.

Step 3: Connect the Plumbing
With the components mounted, connect the plumbing supplied with the kit.
Use:
- Two 12-inch supply hoses (½-inch female) to connect hot and cold water lines to the mixing valve.
- One 16-inch mixer-to-quick-connect hose to connect the mixing valve to the quick-connect water outlet.
Ensure quick-connect valve is wrapped with plumber's tape and tightened securely before pressurizing the system.
Step 4: Secure the Shower Head Mount
Install the shower head mounting bracket in your desired location. Use provided bolts and nuts for thinner cabinets. Use wood screws and washers for 1/2" or thicker cabinets.
Position it for easy access while allowing enough room for the hose to extend comfortably during use.

Step 5: Install the Shower Hose
Attach the included multi-setting shower head to the supplied 3-foot braided nylon hose. Wrap the threaded shower head end with Teflon plumber's tape before installing hose.
The flexible hose offers durability while providing enough reach for rinsing off inside or outside the van.
Step 6: Connect the Quick-Connect Fitting
Snap the braided shower hose into the quick-connect water outlet. Be sure it is fully seated.
The quick-connect fitting allows you to easily attach or remove the shower hose whenever needed. Push up on the quick-connect to connect and release the hose. Be sure to relieve all water from hose and hold the hose on release to avoid water leakage.
Step 7: Connect to Your Water System
Finally, connect the supply hoses to your van's plumbing system.
Once complete:
- Connect hot/cold plumbing lines
- Fill your fresh water tank.
- Pressurize the system using your water pump.
- Verify hot and cold water operation.
- Check every fitting for leaks before regular use.
Adjust hose nozzle to full stream or shower stream using the shower head end. Use mixing valve to control temperature and turn water on/off. Press the shower head nozzle button to turn water on/off at shower head end.

Flexible Installation for Every Build
One of the biggest advantages of the Tetravan Shower Port System is its versatility.
Install it as:
- Your primary indoor shower
- An outdoor rinse station
- A rear-door shower setup
- A gear wash station
- A secondary water outlet for camping and cleanup
Its compact footprint makes it an excellent solution for both DIY builders and professional upfitters looking to maximize functionality without sacrificing valuable space.
Built for Adventure
Whether you're rinsing off after a mountain bike ride, washing sandy feet at the beach, cleaning muddy dogs, or taking a hot shower after a long day on the road, the Tetravan Shower Port System brings the convenience of pressurized water wherever your adventures lead.
Watch our installation video for a complete walkthrough, then shop the Tetravan Shower Port System and the full line of Tetravan accessories at Campervan HQ to complete your build with confidence.
Video Install DetailsOur install shows how the Tetravan Shower System can be adapted to the rear cabinets and accessed through the rear door area of a campervan.
- 1/2" wood cabinet wall(thickness)
- Recommended to reduce to 3/8" or smaller to fit plumbing locknuts*
- Existing plumbing system with 1/2" ID braided tubing
*The quick connect water outlet fixture is recommended to install on wall cabinets/mounting surfaces 3/8" or narrower. This ensures the mixing valve-to-outlet connection has enough threading for proper water seal. In this install on 1/2" plywood, we modified the inner cabinet using a forstner bit, shallowing the valve holes to 3/8".